
Light box lighting guide
Side Lighting vs Backlighting: Choosing LED Bars for a Light Box
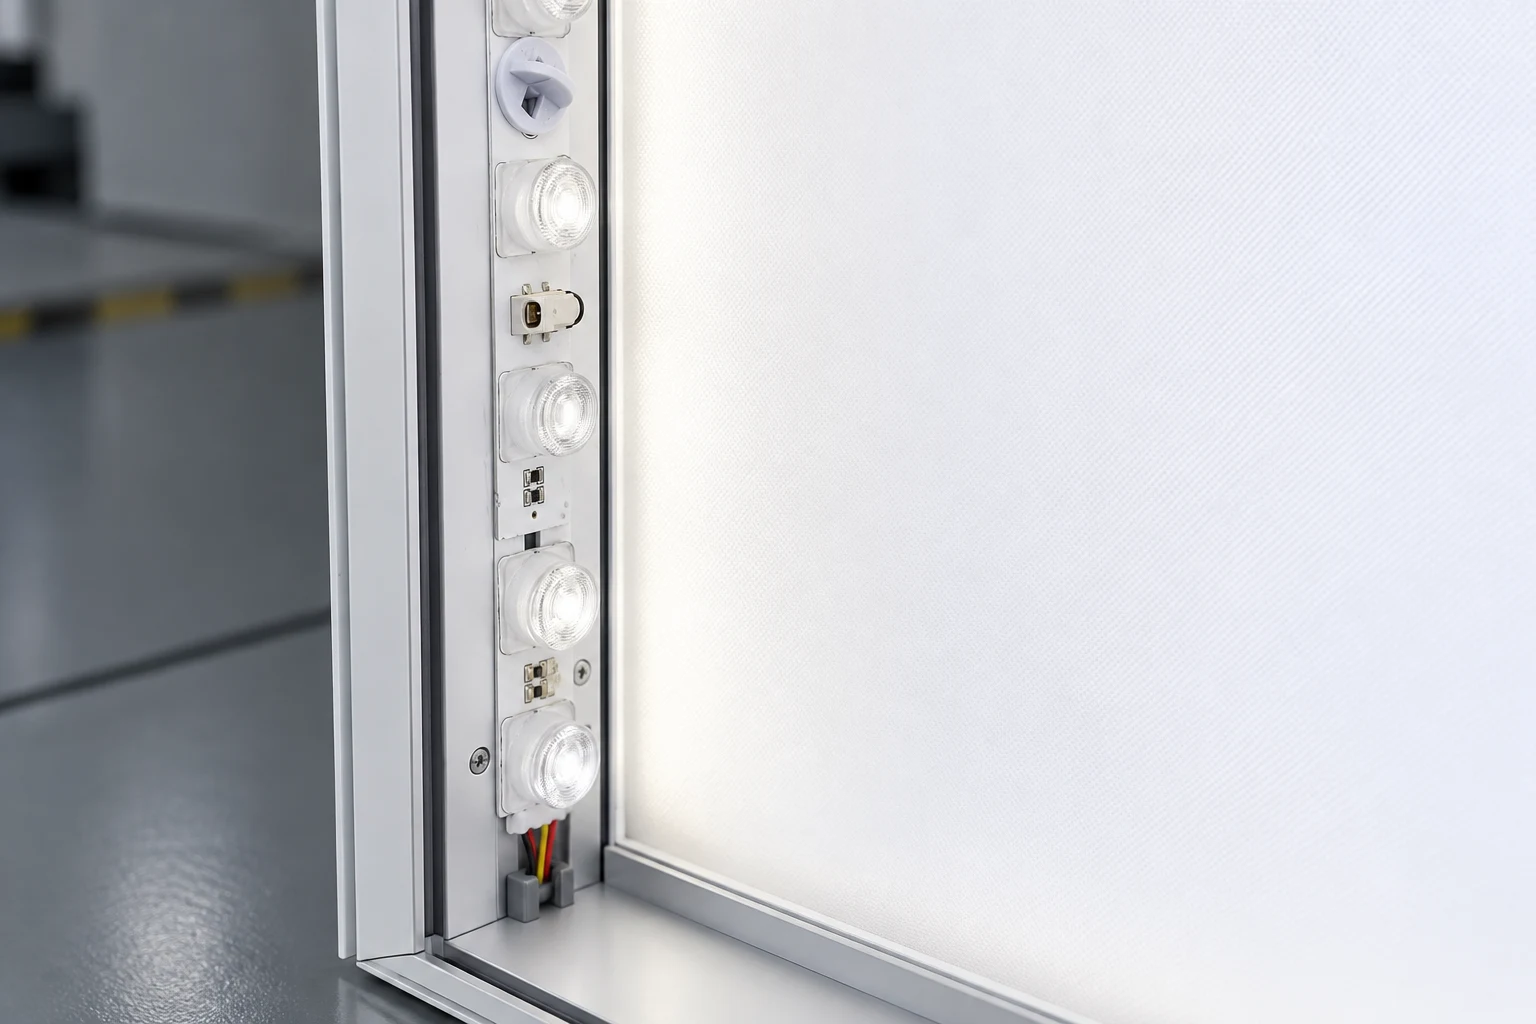
LED bars for a light box should be selected around the cabinet structure, not just the wattage or lumen output of an individual bar. For sign makers and light box manufacturers, the first question is where the LEDs can be mounted and how their light will reach the display face.
How side-lighting and backlighting differ
With side-lighting, LED bars are mounted along the inner edges of the cabinet and direct light across the enclosed space. The optical layout needs to suit the light path, the cabinet dimensions and the available mounting positions.
With backlighting, LED bars are arranged behind the graphic face and illuminate it from the rear. Cabinet depth, bar spacing and the face material all affect the result. A backlighting layout should be reviewed as a complete arrangement rather than selected from bar power alone.
Neither approach is automatically the better choice. The useful starting point is a drawing of the actual cabinet, including the lighting positions and the display-face material.
Does “edge-lit” always mean the same thing?
Suppliers use different terminology. Some describe frame-mounted side-lighting bars as edge-lit. Other systems use LEDs to feed light into the edge of a PMMA light guide panel.
When requesting a quote, specify whether you need LED bars that illuminate across the cabinet or a system using a light guide panel. A photo or section drawing helps clarify the construction.
Explore Aster PMMA light guide panels.
What to compare before choosing a layout
| Cabinet information | Why it matters |
|---|---|
| Width, height and internal depth | Defines the available space and light path |
| Single-sided or double-sided construction | Clarifies the surfaces that need illumination |
| Graphic or display-face material | Identifies the surface through which the light must pass |
| Fixing positions and usable mounting space | Determines where bars can physically fit |
| Lens layout and bar spacing | Helps define the proposed distribution of light |
| Supply voltage, connectors and wiring route | Supports a practical electrical and assembly review |
| Color temperature and brightness requirement | Defines the intended appearance and lighting target |
Supply these details together. Cabinet width alone is not enough to establish the number of bars or their spacing.
Comparing Aster’s standard 24V side-lighting bars
Aster’s two standard models provide a concrete starting point for a side-lighting enquiry:
| Model | Dimensions | LED layout | Rated power | Typical output |
|---|---|---|---|---|
| A-10D500-OSRAM | 500 × 25 × 13.8 mm | 10 LEDs; 50 mm pitch | 22.5 W | 2200 lm |
| A1-8D470-OSRAM | 470 × 25 × 14 mm | 8 LEDs; 60 mm pitch | 24 W | 2800 lm |
Both models use a nominal 24 V DC input, 6500 K color temperature and a 10° × 30° lens beam. The OSRAM name identifies the light source used in these Aster models.
The 2800 lm model has a higher typical bar output, but that alone does not establish better brightness or uniformity in your finished light box. Compare the fixing space and proposed optical arrangement as well as the output.
View model photographs and dimensional drawings.
Check a sample in the intended cabinet
For a new arrangement, evaluate the sample with the intended display-face material and the proposed mounting positions. Look for visible bright areas, darker edges or uneven appearance across the face. Record the cabinet dimensions, face material, bar positions and power-supply details with the observations.
If the result needs adjustment, these records make the next layout discussion more useful than a photograph of the illuminated face alone. The final bar configuration and installation arrangement should be confirmed for the project.
What to send with your enquiry
Include the cabinet dimensions and internal depth, a drawing or photo, single- or double-sided construction, face material, proposed lighting direction, supply voltage, color temperature, quantity and delivery destination. Add any connector or wiring requirements.
If you have not chosen between side-lighting and backlighting, include the available mounting positions and ask for a configuration review. For a custom bar, describe the required length and connection arrangement rather than assuming a standard model can be cut to fit.
Compare Aster LED rigid bars and send your project requirements.
Have a light box project to review?
Send Your Project Requirements